
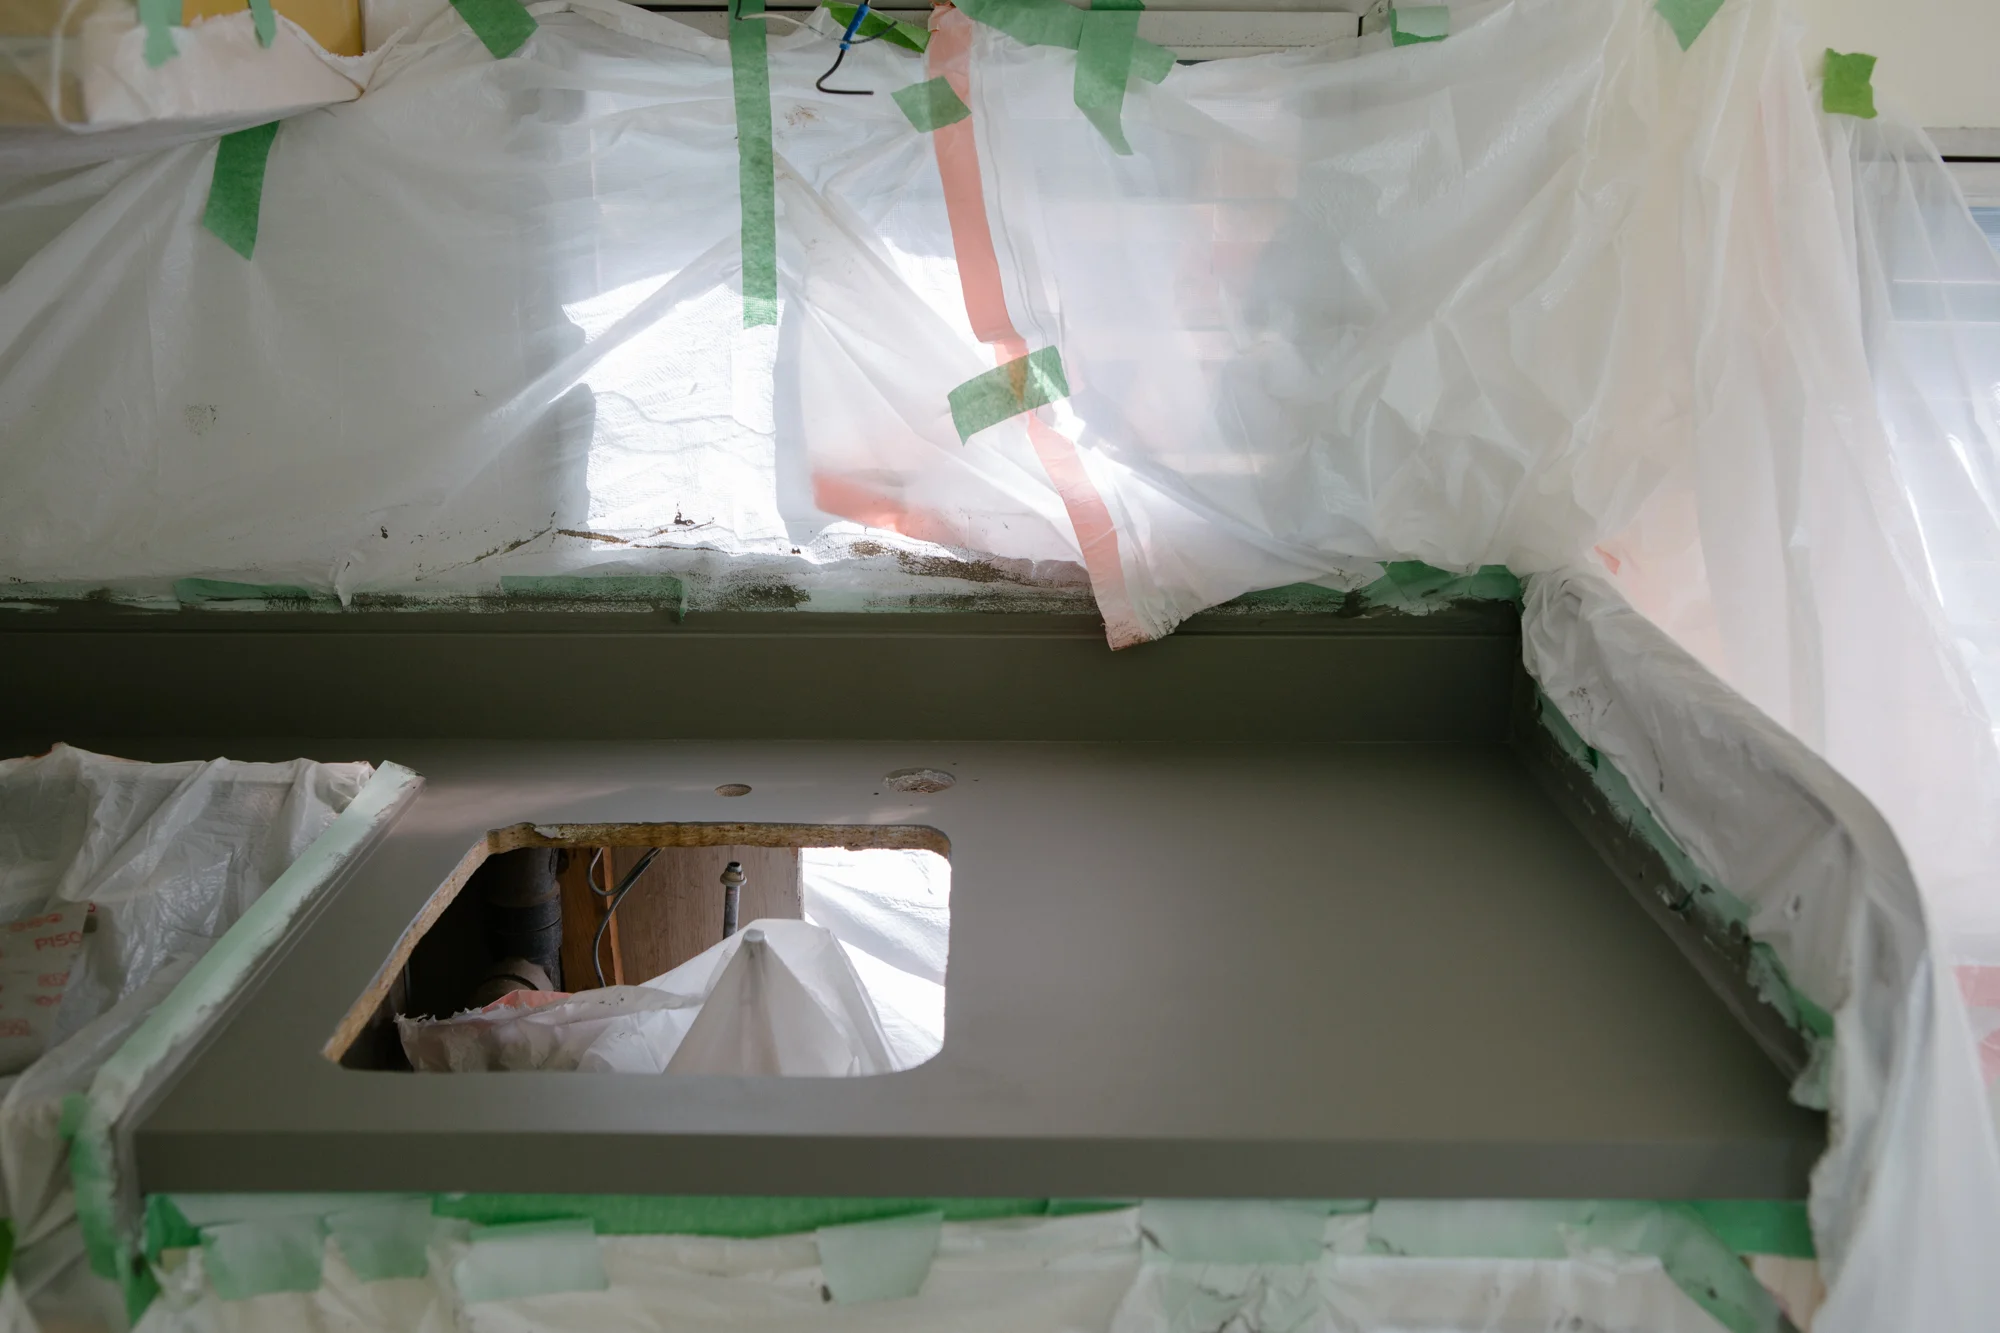
We briefly debated leaving the kitchen counter as is, it wasn't that bad but once we had finished the building the table we knew it would drive us crazy if we didn't have it all match. In such a small space it would stick out like a sore thumb so we went ahead and did the same faux treatment we used for the table on the counter.
The process was relatively the same, we just needed to be more careful with our prep. Ideally we could have removed the whole counter and worked on it outside but that wasn't possible. To prep we made sure we did a really thorough job taping and bagging every surface. We didn't want to get anything on our new floors, the appliances, newly painted cabinets or backsplash. We even splurged on the good shit, heavy duty Frog Tape instead of regular old painters tape.
Once we removed the sink, faucet and fixtures and sealed everything else off we took an orbital sander to the counter to get the surface clean and even while creating a textured surface for the new paint to adhere to.

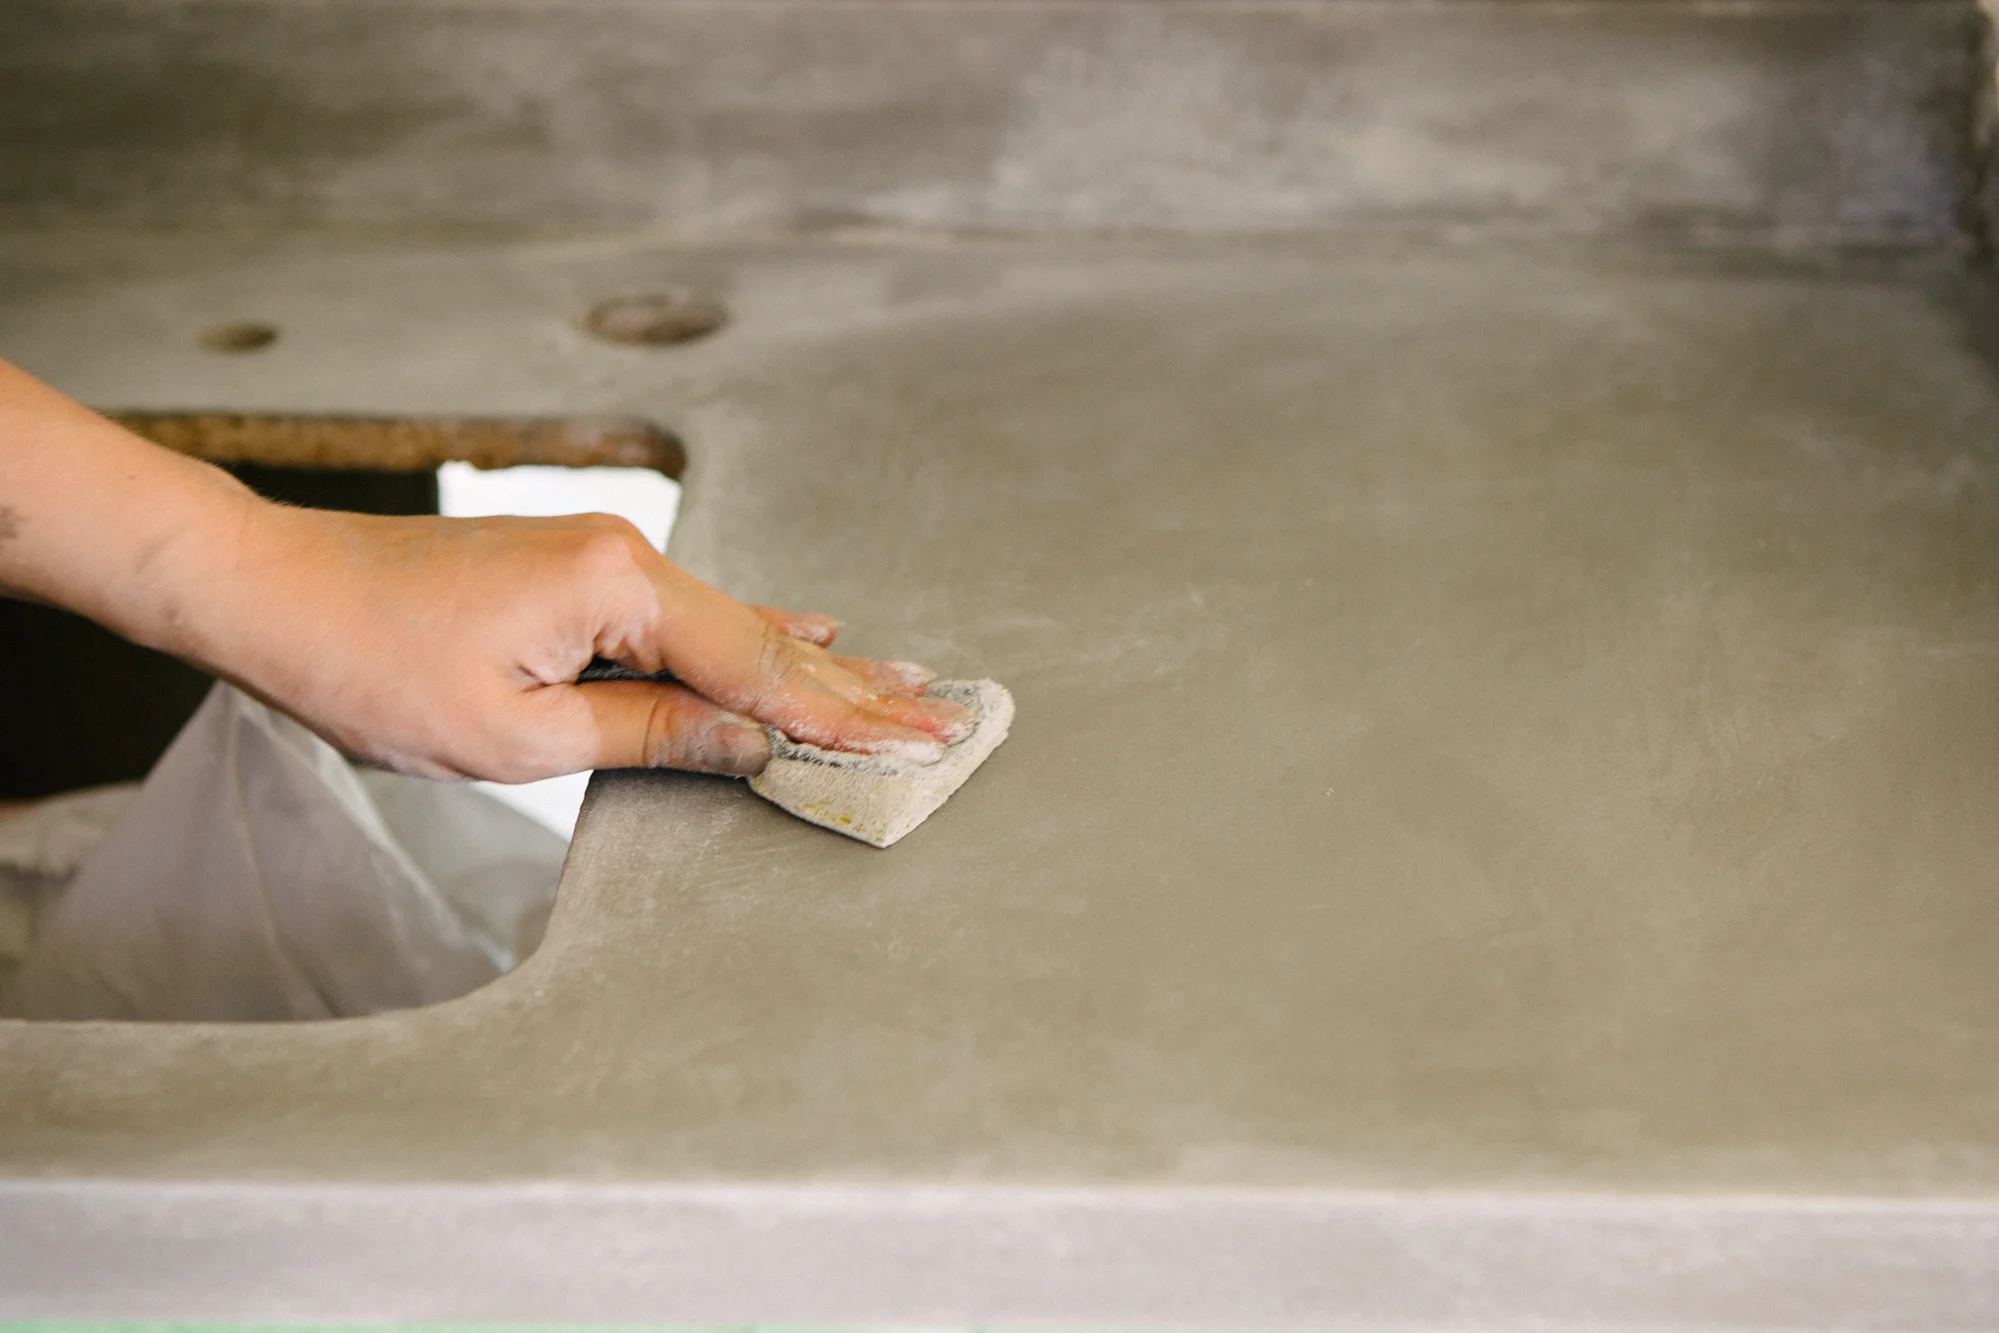
The process was relatively the same as what we used for the table which you can check out here . The counter gets a lot of extra wear and tear / water spills so we sprayed on a LOT of layers of durable flooring varathane, and topped the whole thing off with a layer of beeswax, buffed until it was super shiny and smooth. Everyone who's seen this thing IRL just thinks it's concrete.
Pro Tip: To avoid the varathane pooling or sagging, do your best to level out the trailer with jacks before you start.

We searched for hours, online and in hardware stores, looking for a classic and simple backsplash option. The existing backsplash was pretty filthy and dull and a replacement seemed easy enough, we would either go for stick tiles or regular kitchen tiles. The more we looked the more we started to rethink our approach. We couldn't find a stick tile option that suited what we wanted, they were all a little… much. We just wanted a simple white subway tile option. Using real tiles and doing it ourselves was also an option but we worried about adding the weight and also their ability to last long term. The trailer basically vibrates, flexes and shakes on the road for hours a day and we didn't know how long they would hold up with that in mind.
Every option we did like seemed pretty close to what we already had in the trailer so we thought, why not just take a run at what's in there?
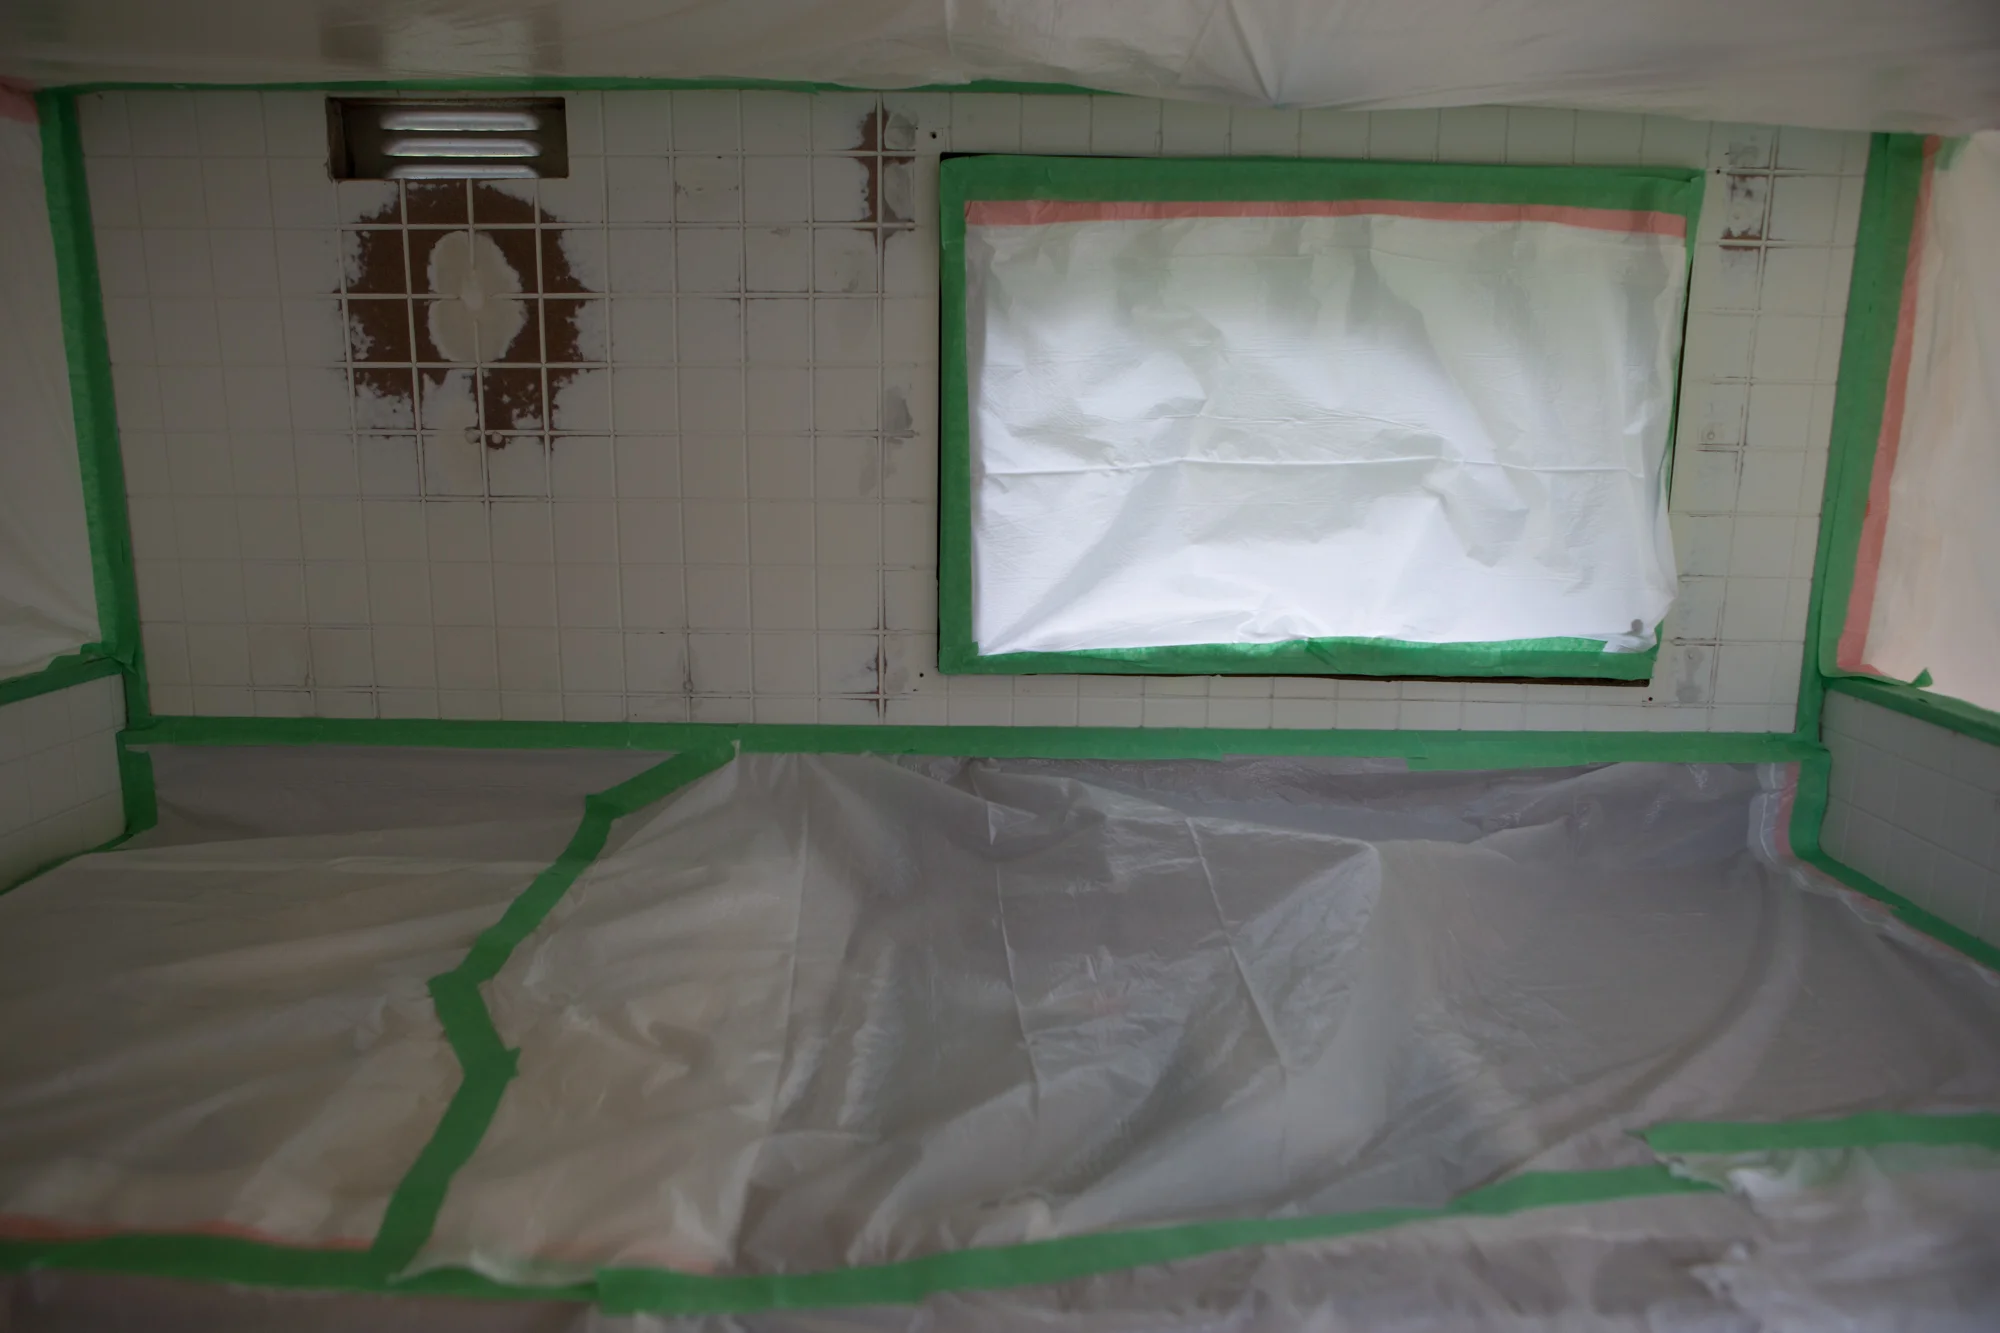
We removed the propane lantern that we 1) didn't like, 2) didn't trust and 3) took up a ton of space above the stove. We also removed the curtain rod, hood vent and little spice rack off the wall and patched all the holes. We wanted a bare surface to work with and knew we would be installing our own curtain rod and wall storage once completed.
As with everything else, we gave it a good sand so the new paint would be able to stick. We researched our options and decided to go with appliance epoxy paint. This would give us a wipeable and durable surface, necessary for a kitchen space this small. We taped and bagged everything off and got geared up. This stuff is INTENSE, we wore full face protection, you do not want to breathe this stuff in. We did about three coats, going through almost a full can of it, and let it cure for a few days. Remove the tape though before it dries, this stuff wants to peel off with it.
For a little extra storage above the stove, we glued together 3 poplar storage boxes from the dollar store, and mounted them to the wall. It looked kind of sparse and basic so we wrapped the leather straps from an old tote bag around the whole thing, screwing the ends of the straps into the wall.
